


Listen to this post: How to take better photos with your phone (without buying anything)
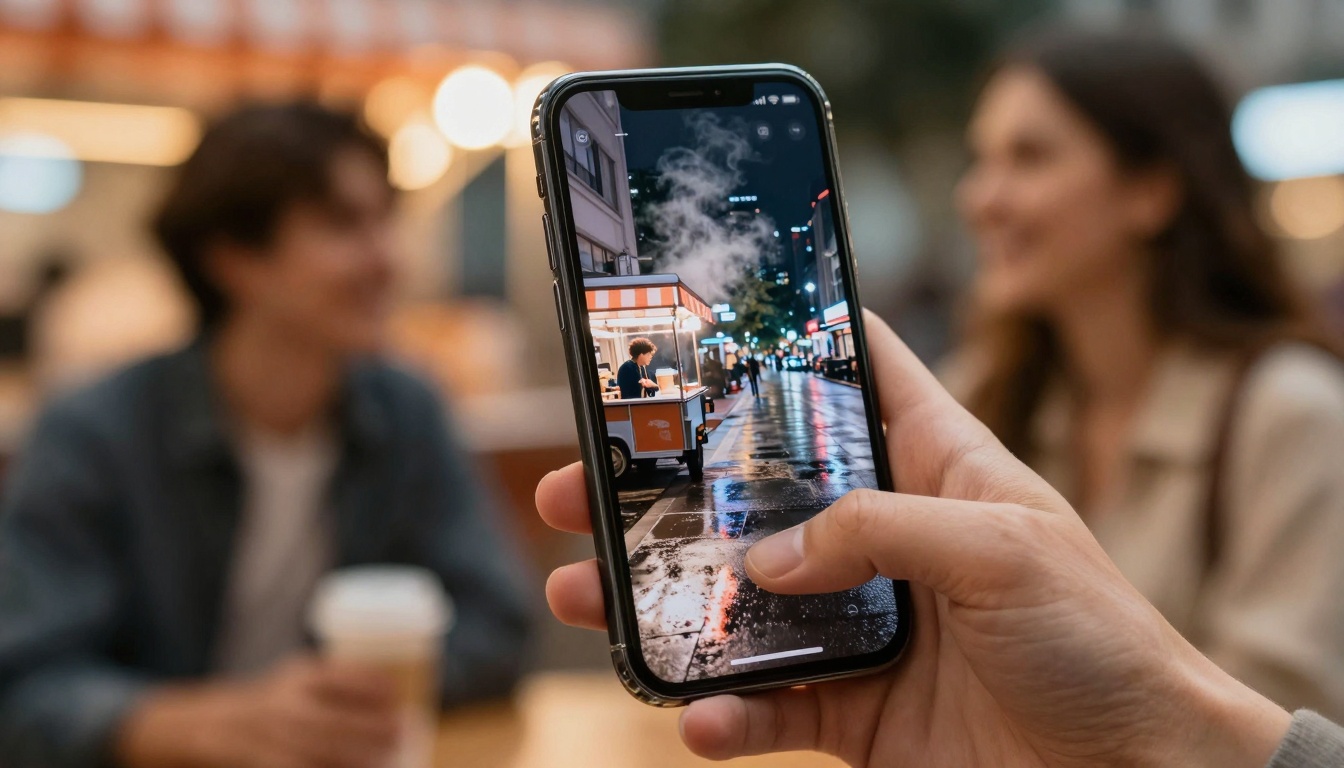
You’re standing in front of a perfect scene, a wet street catching neon reflections, steam rising from a coffee cart, your mate laughing mid-sentence. On your phone screen it looks magical. Then you take the photo and it comes out flat, soft, and a bit sad.
The good news is that taking better photos with your phone usually has nothing to do with owning the newest model. Small habits beat expensive gear. A cleaner lens, steadier hands, kinder light, and a few smart taps can change everything.
Start with the basics that instantly sharpen your phone photos
Before you touch any “Pro” settings or download another app, fix the simple stuff that ruins phone photos. Most weak shots come from blur, haze, or ugly light, and all three can be avoided in seconds.
Think of your phone camera like a window. If the window is smeared, the view won’t matter.
Clean the lens and check for glare before you shoot
Phone lenses live a hard life. They rub against pockets, pick up fingerprints, and collect a thin film you can’t always see. That film acts like fog on a bathroom mirror, it scatters light and makes images look soft and grey.
Give the lens a quick wipe before any “important” shot:
- Use a microfibre cloth if you have one.
- A clean cotton T-shirt works in a pinch.
- Skip paper tissues if you can, they can leave lint and can scratch over time.
Now look for glare. Outdoors, bright sun can hit the lens at an angle and create flares, pale streaks, or a washed-out patch. Shade the lens with your hand (like a tiny roof), re-frame, and check the corners again. One small shift can turn “hazy” into crisp.
If you want a wider set of practical phone photo habits, this guide from Engadget is a solid companion: How to improve your smartphone photography.
Hold steady, use the timer, and avoid digital zoom
Blur is sneaky. It shows up most in low light, indoors, and at dusk, which is also when we tend to take the most meaningful photos.
Use a simple steady stance:
- Hold the phone with two hands.
- Tuck your elbows in.
- Breathe out as you tap the shutter.
If your hands still shake, borrow stability from the world. Lean against a wall, rest your elbows on a table, or brace the phone on a railing. A mini tripod helps too, but your surroundings are often enough.
The timer is another underused trick. Set a 2-second timer so the phone takes the photo after your tap, not during it. That tiny delay reduces shake more than most people expect.
Now, about zoom. Pinch-to-zoom often gives you digital zoom, which is just cropping and enlarging. The result looks mushy because you’re stretching pixels. Try these instead:
- Step closer if it’s safe and polite.
- Use the phone’s optical zoom lens if it has one (often 2x or 3x).
- Shoot a little wider and crop later, which usually looks cleaner than heavy digital zoom in the moment.
Use light like a photographer, even with a basic camera app
Light is the difference between a photo that feels alive and one that feels like a screenshot. The trick is not “more light”, it’s better light. You want light that’s gentle, even, and flattering.
Most phone cameras are excellent at handling good light, and they struggle when the light is harsh and mixed.
Find soft light: windows, shade, cloudy skies, and golden hour
Soft light is even light. It wraps around faces and shows detail without sharp shadows.
Indoors, a window is your best friend. Place your subject facing the window or turned slightly towards it. Avoid putting the bright window behind them, that often creates a dark silhouette and a blown-out background.
Outdoors, look for open shade. Stand near the edge of a building, under a tree canopy, or beside a wall that blocks direct sun. You still get brightness, but without the hard shadow lines under eyes and noses.
Cloudy skies are nature’s softbox. The light is spread across the sky, so skin looks smoother and colours look calmer.
Golden hour is the hour-ish after sunrise and before sunset. It adds warm colour, soft contrast, and a natural glow that flatters people and streets alike. If you’ve ever wondered why holiday photos look better at 7pm, that’s why.
If you want a deeper dive into classic composition and “seeing” light, this is a helpful read: How to compose your smartphone photos like a pro.
Control harsh light with small moves, not fancy gear
Midday sun is blunt. It creates hard shadows and makes people squint. You don’t need equipment to fix it, you need positioning.
Try these quick moves:
- Turn the subject a little so the light hits from the side, not straight above.
- Move one step left or right to remove a bright patch behind them.
- Use a plain wall as a light bounce, stand near it so it reflects soft light back onto the face.
- If possible, avoid overhead sun for portraits, or place the subject in open shade.
A note on flash: phone flash is small and close to the lens, which often gives shiny skin, harsh shadows, and a “night-out” look. Keep it off unless you truly need it. If you must use it, step back slightly, and look for a flash intensity control in your camera settings. Lower is usually kinder.
Recent phone camera trends in early 2026 lean hard into AI help for tricky light and quick edits, plus stronger HDR and better action capture on newer models. Those tools can help, but light still matters most, even with the cleverest software.
Master focus, exposure, and composition in 60 seconds
A phone camera guesses what you care about. Sometimes it guesses right. Often it doesn’t.
Three skills fix that fast:
- tell the camera what matters (focus),
- protect bright areas (exposure),
- arrange the frame on purpose (composition).
Tap to focus, then lock exposure so the shot doesn’t shift
Tap-to-focus is the simplest way to get sharper photos. Tap the face, the pet’s eyes, or the main object. The phone will set focus there and also adjust brightness.
The problem is mixed lighting. Imagine a person in shade with a bright sky behind. If the camera changes exposure at the last second, the face can go dark or the sky can turn into a white blob.
Use this quick method:
- Tap the main subject (a face, a flower, a plate of food).
- If your phone allows it, press and hold to lock focus and exposure.
- Use the brightness slider (often shown as a little sun icon) to adjust.
Expose for highlights when you can. A slightly darker photo is easier to fix than a blown-out sky or a shiny forehead with no detail. If the clouds are pure white, the detail is gone.
Use the grid for the rule of thirds and straighter horizons
Grid lines are like training wheels for framing. Turn them on in your camera settings and you’ll start noticing balance straight away.
The rule of thirds is simple. Imagine the frame split into nine boxes. Place your subject along one of the lines, or at a crossing point. It often looks more natural than putting everything dead centre.
Two fast composition prompts that improve almost any phone photo:
- Simplify the background. A clean wall beats a messy kitchen every time.
- Check the edges. Clutter creeping in from the side is a common photo killer.
- Keep horizons level for landscapes and buildings. A slightly tilted sea looks like a mistake, even if the colours are perfect.
For extra practice ideas, Anna Hardy’s tips are friendly and grounded: Get better results with your camera phone: 10 top tips.
Use the right camera mode for the moment, then edit with a light touch
Most people shoot everything in the default mode, then wonder why action looks blurry and night photos look noisy. Your phone already has tools for these moments. You just need to pick the right one.
After that, editing should feel like cleaning a window, not repainting the scene.
Portrait, Night, Burst, and Pro mode: when each one helps most
Portrait mode
Great for people and pets because it blurs the background and pulls attention to the subject. To avoid weird “cut-out” edges around hair or ears, shoot in good light and keep some space between your subject and the background. A subject right against a wall can confuse the blur effect.
Night mode
Useful in dim streets, restaurants, and winter afternoons. Night mode works by taking a longer exposure (or stacking multiple frames), so you must hold still. Rest the phone on something when you can. Avoid night mode for fast-moving subjects, you’ll often get ghosting and smeared hands.
Burst mode
Perfect for kids, pets, sports, and candid moments. Hold the shutter (or use your phone’s burst gesture) and pick the sharpest frame after. This also helps with group shots, someone always blinks, and burst gives you options.
Pro or Manual mode (if you have it)
You don’t need to become a camera nerd, just learn two controls:
- ISO: keep it low for less grain. Raise it only when you must.
- Shutter speed: use a faster shutter to freeze action, and a slower shutter for still scenes (but only if you can hold steady).
Some phones also let you shoot RAW. RAW files hold more data, so you can recover highlights and adjust colour with less damage. If you’re curious about building skills over time, ExpertPhotography’s guide is thorough: How to Best Shoot Smartphone Photography: A Complete Guide.
A simple edit recipe: crop, straighten, fix light, then colour
Editing should support the moment, not replace it. If your photo starts looking like a poster, pull back.
Here’s a clean, repeatable order that works in most editing apps:
Crop and straighten
Crop out distractions at the edges. Level the horizon. Straight lines make photos feel calm and intentional.Fix light first
Lower highlights to bring back bright skies and shiny areas. Lift shadows slightly if the subject is too dark, but don’t force everything bright.Add a small contrast bump
A little contrast brings shape back to faces and buildings. Keep it gentle.Adjust white balance
Make whites look white. Indoor lighting can turn photos yellow or green. If skin looks like fake tan, cool it down a touch.Sharpen lightly, avoid heavy smoothing
A small sharpen can help detail. Too much smoothing makes skin look like plastic and removes texture that feels real.
A quick gut-check: if the sky turns neon or faces go orange, you’ve gone too far. Stop earlier than you think.
To build your eye, try one small habit: edit one photo a day for a week. You’ll start noticing light and colour before you even take the shot.
For a straightforward UK-focused rundown on phone camera settings, this is also worth a look: Take better photos with your phone camera.
Conclusion
Better phone photos come from a few small wins: a clean lens, steadier hands, kinder light, tap-to-focus with controlled exposure, simple composition, and light editing that keeps things natural. Try a mini challenge this week, take the same photo in open shade, by a window, and at golden hour, then compare. You’ll see the difference instantly. Your next photo can look better in minutes, because you’re the upgrade, not the phone.